Welcome beginners to the 2024 Modathon! 🎉
Hello and welcome to all beginners who are interested in participating in the Nine Chronicles Modathon! Don’t worry if you’re new to coding—by following this guide, you’ll be able to create a simple website that displays Nine Chronicles avatar information. 🌟
Once you’ve followed through to the end, if you feel inspired, we encourage you to join the Modathon and submit your project. And if you have a cool mod idea but think it’s too challenging, head over to the #mod-ideas channel in our Discord to find developers who can help bring your vision to life!
Modding Setup and Goal
Now let’s explain our goal. You’ll be setting up your environment to create a website that can display avatar information from Nine Chronicles.
We’ll walk you through the basics, and you can follow the Avatar Information Dapp Guide later to build the website step-by-step.
By the end of this guide, you’ll have everything set up and ready to dive into that guide!
Step 1: JavaScript and Setting Up Node.js
We’ll be using JavaScript (JS), one of the most popular programming languages for building websites. For this project, we’ll actually be using a slightly enhanced version of JavaScript called TypeScript (TS), which makes development easier and more reliable. Don’t worry, they are almost the same, but TypeScript helps catch errors early and makes coding smoother. You can learn more about TypeScript here.
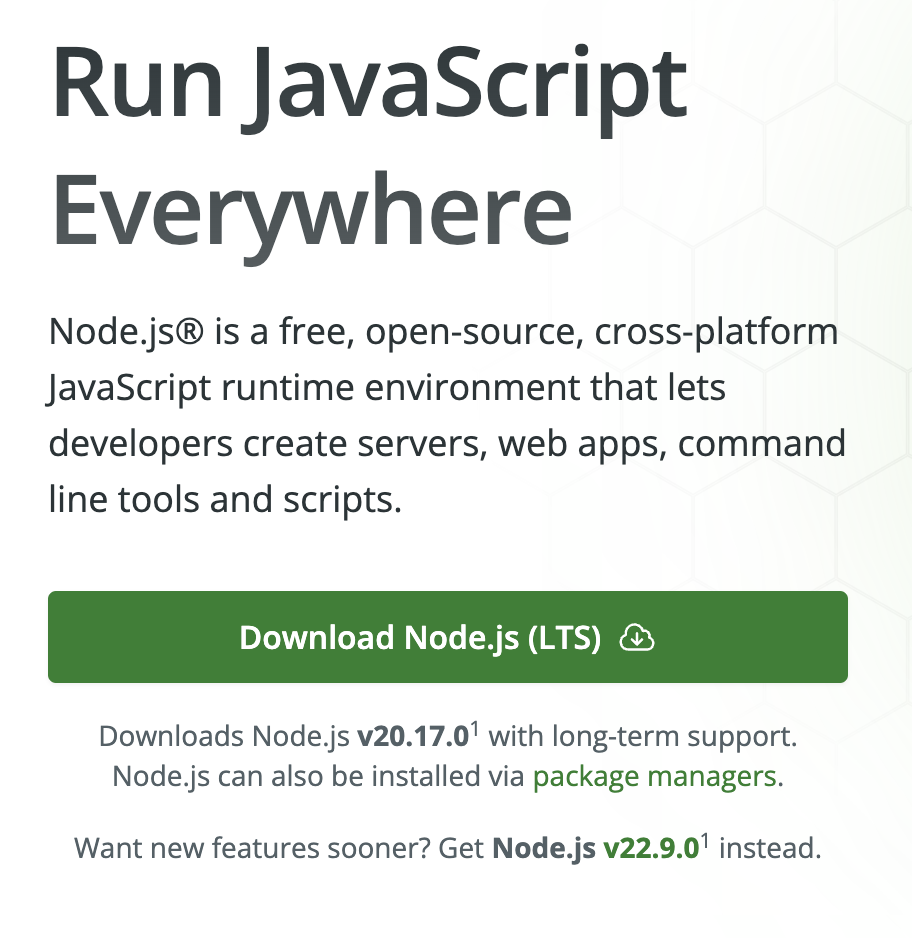
Now, to run our TypeScript code and manage the project, we need to install Node.js and its package manager, npm. These tools allow us to manage the libraries needed to build the website.
You can download Node.js (which includes npm) from here.
Once Node.js and npm are installed, you’ll be ready to move on to the next step! 
Step 2: Installing a Code Editor (VS Code)
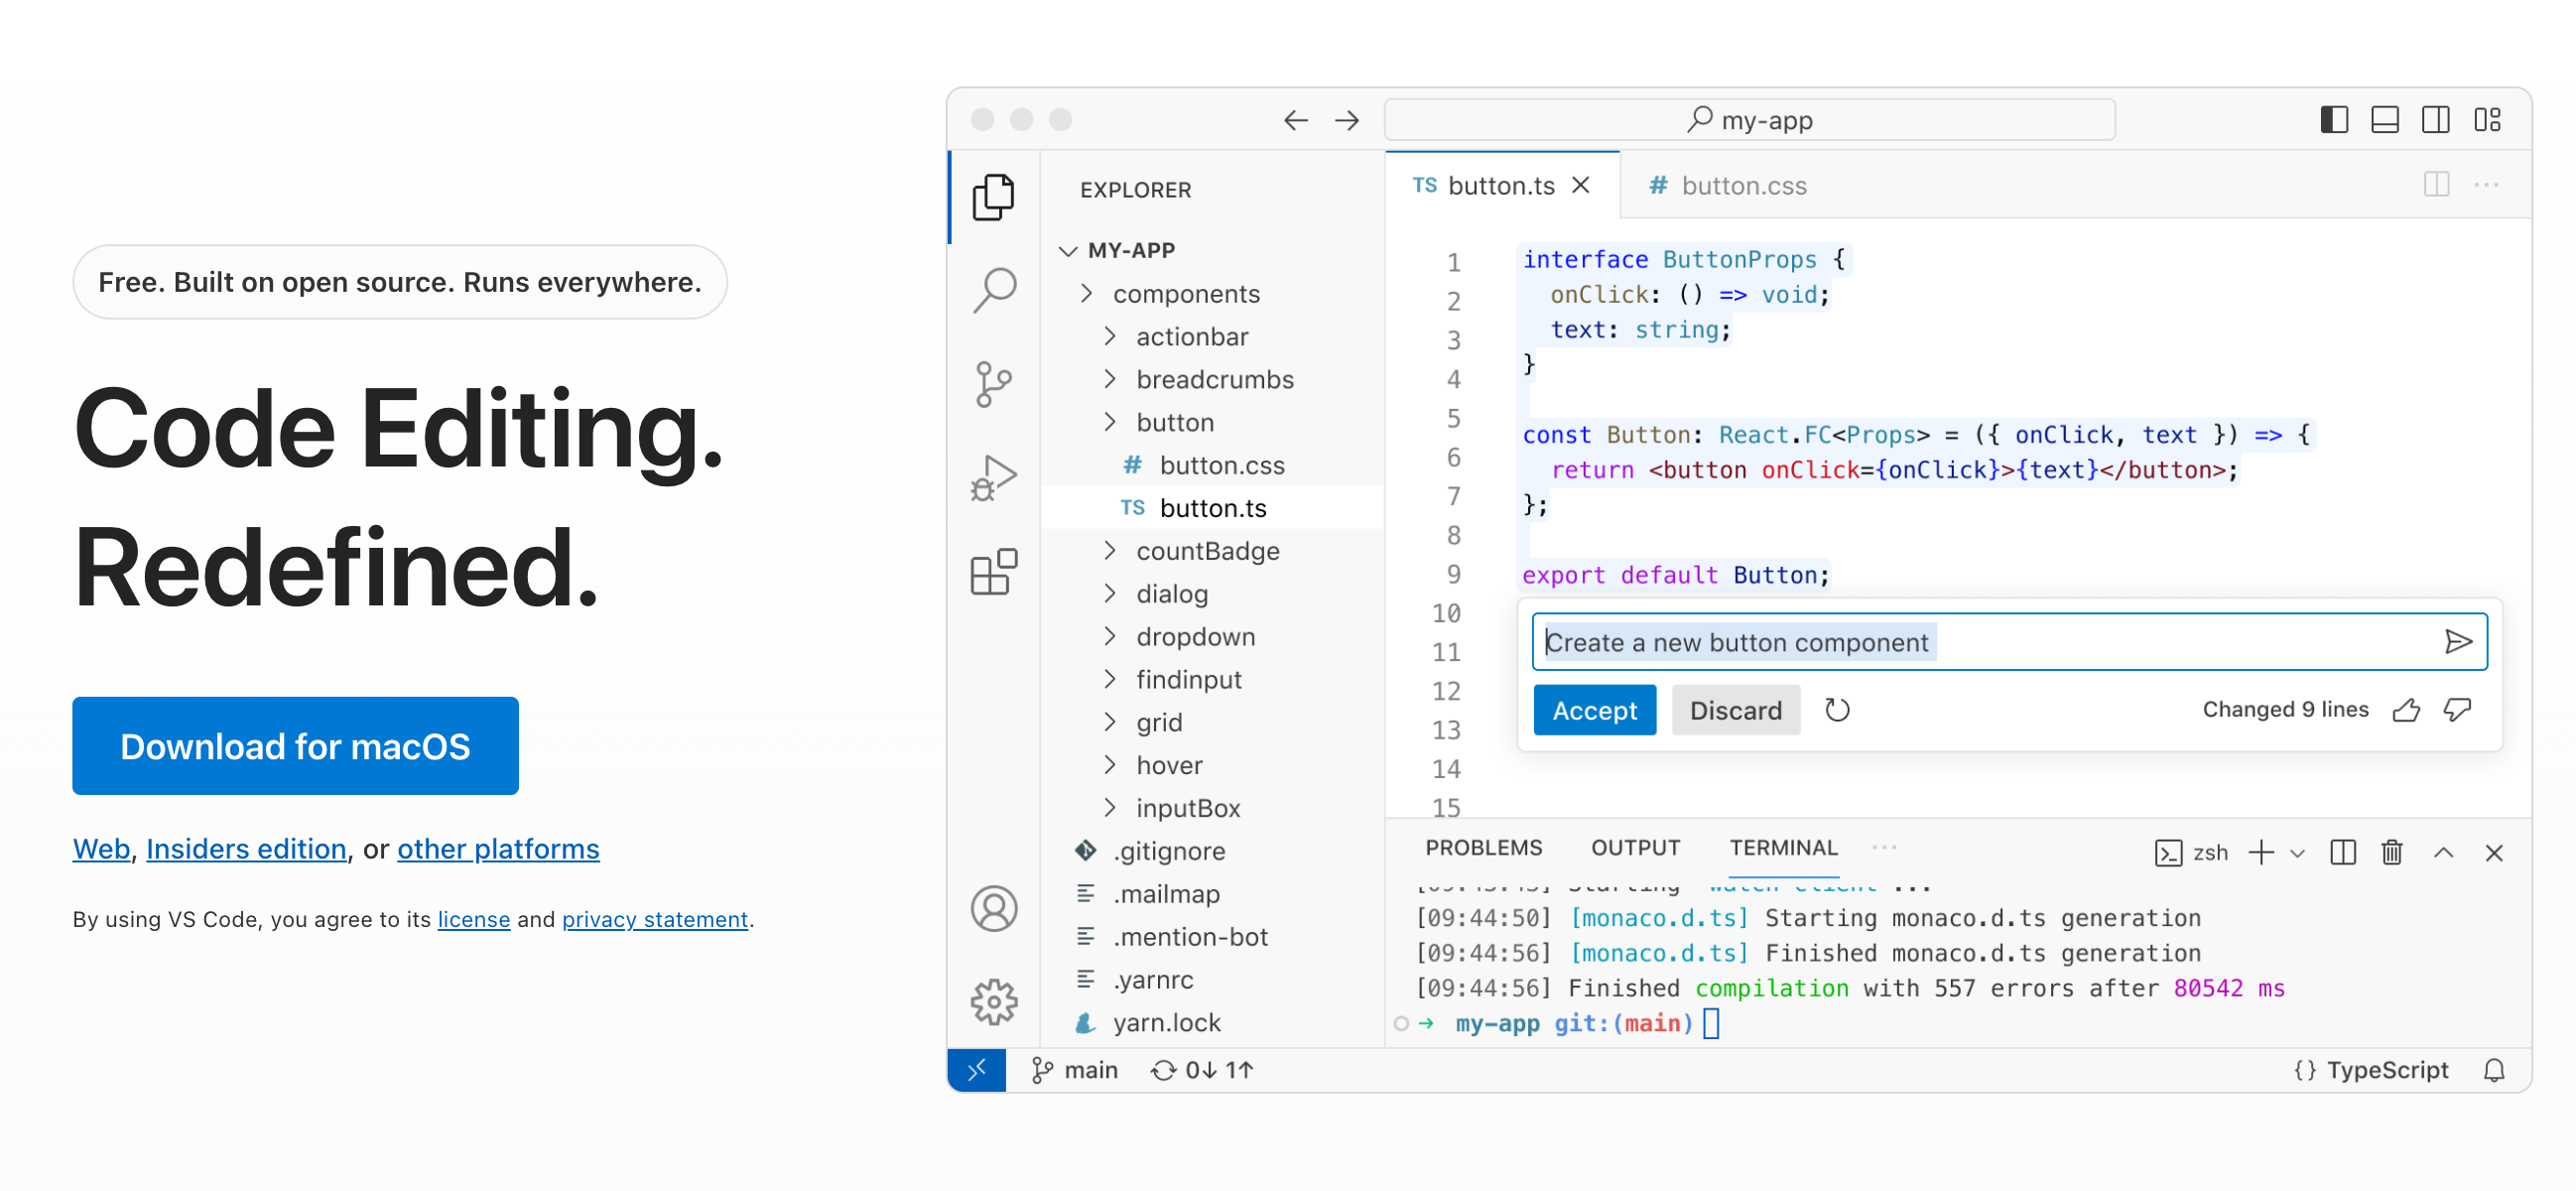
Now we need a text editor to write code. We’ll be using Visual Studio Code (VS Code) because it’s free and super easy to use!
- Download and install VS Code from here.
- Once installed, open it up and let’s get started!

Step 3: Create and Open a New Folder
In VS Code, we’ll create a new folder for our project and open it to start working.
- Create a new folder on your computer for the project.
- Open VS Code and follow this guide to open that folder.
Great! You’re now ready to start coding!
Step 4: Verify npm is Working
Now, let’s verify that npm (the tool we installed earlier) is working properly. In VS Code, open the terminal by clicking on Terminal > New Terminal.
In the terminal, type:
npm --versionIf you see a version number, then everything is set up correctly! 
Step 5: Creating Your Website
We’re going to use a popular tool called React to build our website. React is a library that makes creating dynamic websites easier.
In your terminal, run the following command to create a project:
npx degit planetarium/template-9c-mimir your-project-nameReplace your-project-name with whatever you want to name your project! This will download a template for your avatar information website.
Once it’s done, open the folder in VS Code:
- In VS Code, click on File > Open Folder.
- Navigate to your project folder (
your-project-name), select it, and open it.
Now, run these commands to generate some code and start the project:
npm install
npm run codegen
npm run start
This will open a new tab in your browser where you can see the website running! 🎉
Now that everything is set up, you can follow the Avatar Information Dapp Guide to finish building your website.
You might see some technical terms like GQL in the guide. Don’t worry about it! Just follow along step by step, and you’ll get the website up and running. After you’ve completed the guide, take a moment to explore what you’ve created and understand how it works.
Step 6: Adding a README File
Before we upload your project to GitHub, you need to create a README.md file. A README file is used to describe your project and provide important information like what it does, how to use it, and any other relevant details.
Here’s how to create one:
- In VS Code, in your project folder, right-click and select New File.
- Name the file
README.md.
Now, open the README.md file and add some basic information about your project. Here’s an example:
# My Avatar Information Website

This website displays detailed information about Nine Chronicles avatars

## Features
- Displays avatar information from Nine Chronicles

## How to Use
1. Visit the website and enter the avatar ID.
Once you’ve written the description of your project, save the file. This README will help others understand your mod and what it does.
Step 7: Create a GitHub Account and Upload Your Project
Now that you’ve built your website, let’s upload it to GitHub, a platform where developers store and collaborate on projects. This will allow you to easily share your work and submit it for the Modathon.
1. Create a GitHub Account
- Visit GitHub and click Sign Up.
- Follow the instructions to create your account—it’s quick and easy!
2. Upload Your Project to GitHub
Create your repository
- On GitHub, click the New button at the top right.

- Give your repository a name (e.g.,
my-avatar-website), add a short description, and make sure the repository is Public. - Click Create repository.
Setup git
To upload your files, you’ll need Git installed on your computer. You can download it from here.
Once Git is installed:
- Open a terminal or command prompt and configure your name and email (use the name and email you used for your GitHub account):
git config --global user.name "Your Name"
git config --global user.email "[email protected]"
Creating a Personal Access Token (PAT)
Here’s how to create a Personal Access Token:
- Go to your GitHub Personal Access Token settings.
- Click Generate new token (classic) and select the appropriate scopes (permissions). For general use, you’ll need to check
repounder “scopes” to allow access to your repositories. - Generate the token and copy it. Make sure to save it somewhere secure, as you won’t be able to see it again after you leave the page.
Using the Token
- When Git asks for your username and password during the
git pushstep, enter your GitHub username as usual. - For the password, paste your Personal Access Token instead of your actual GitHub password.
Upload your project to GitHub
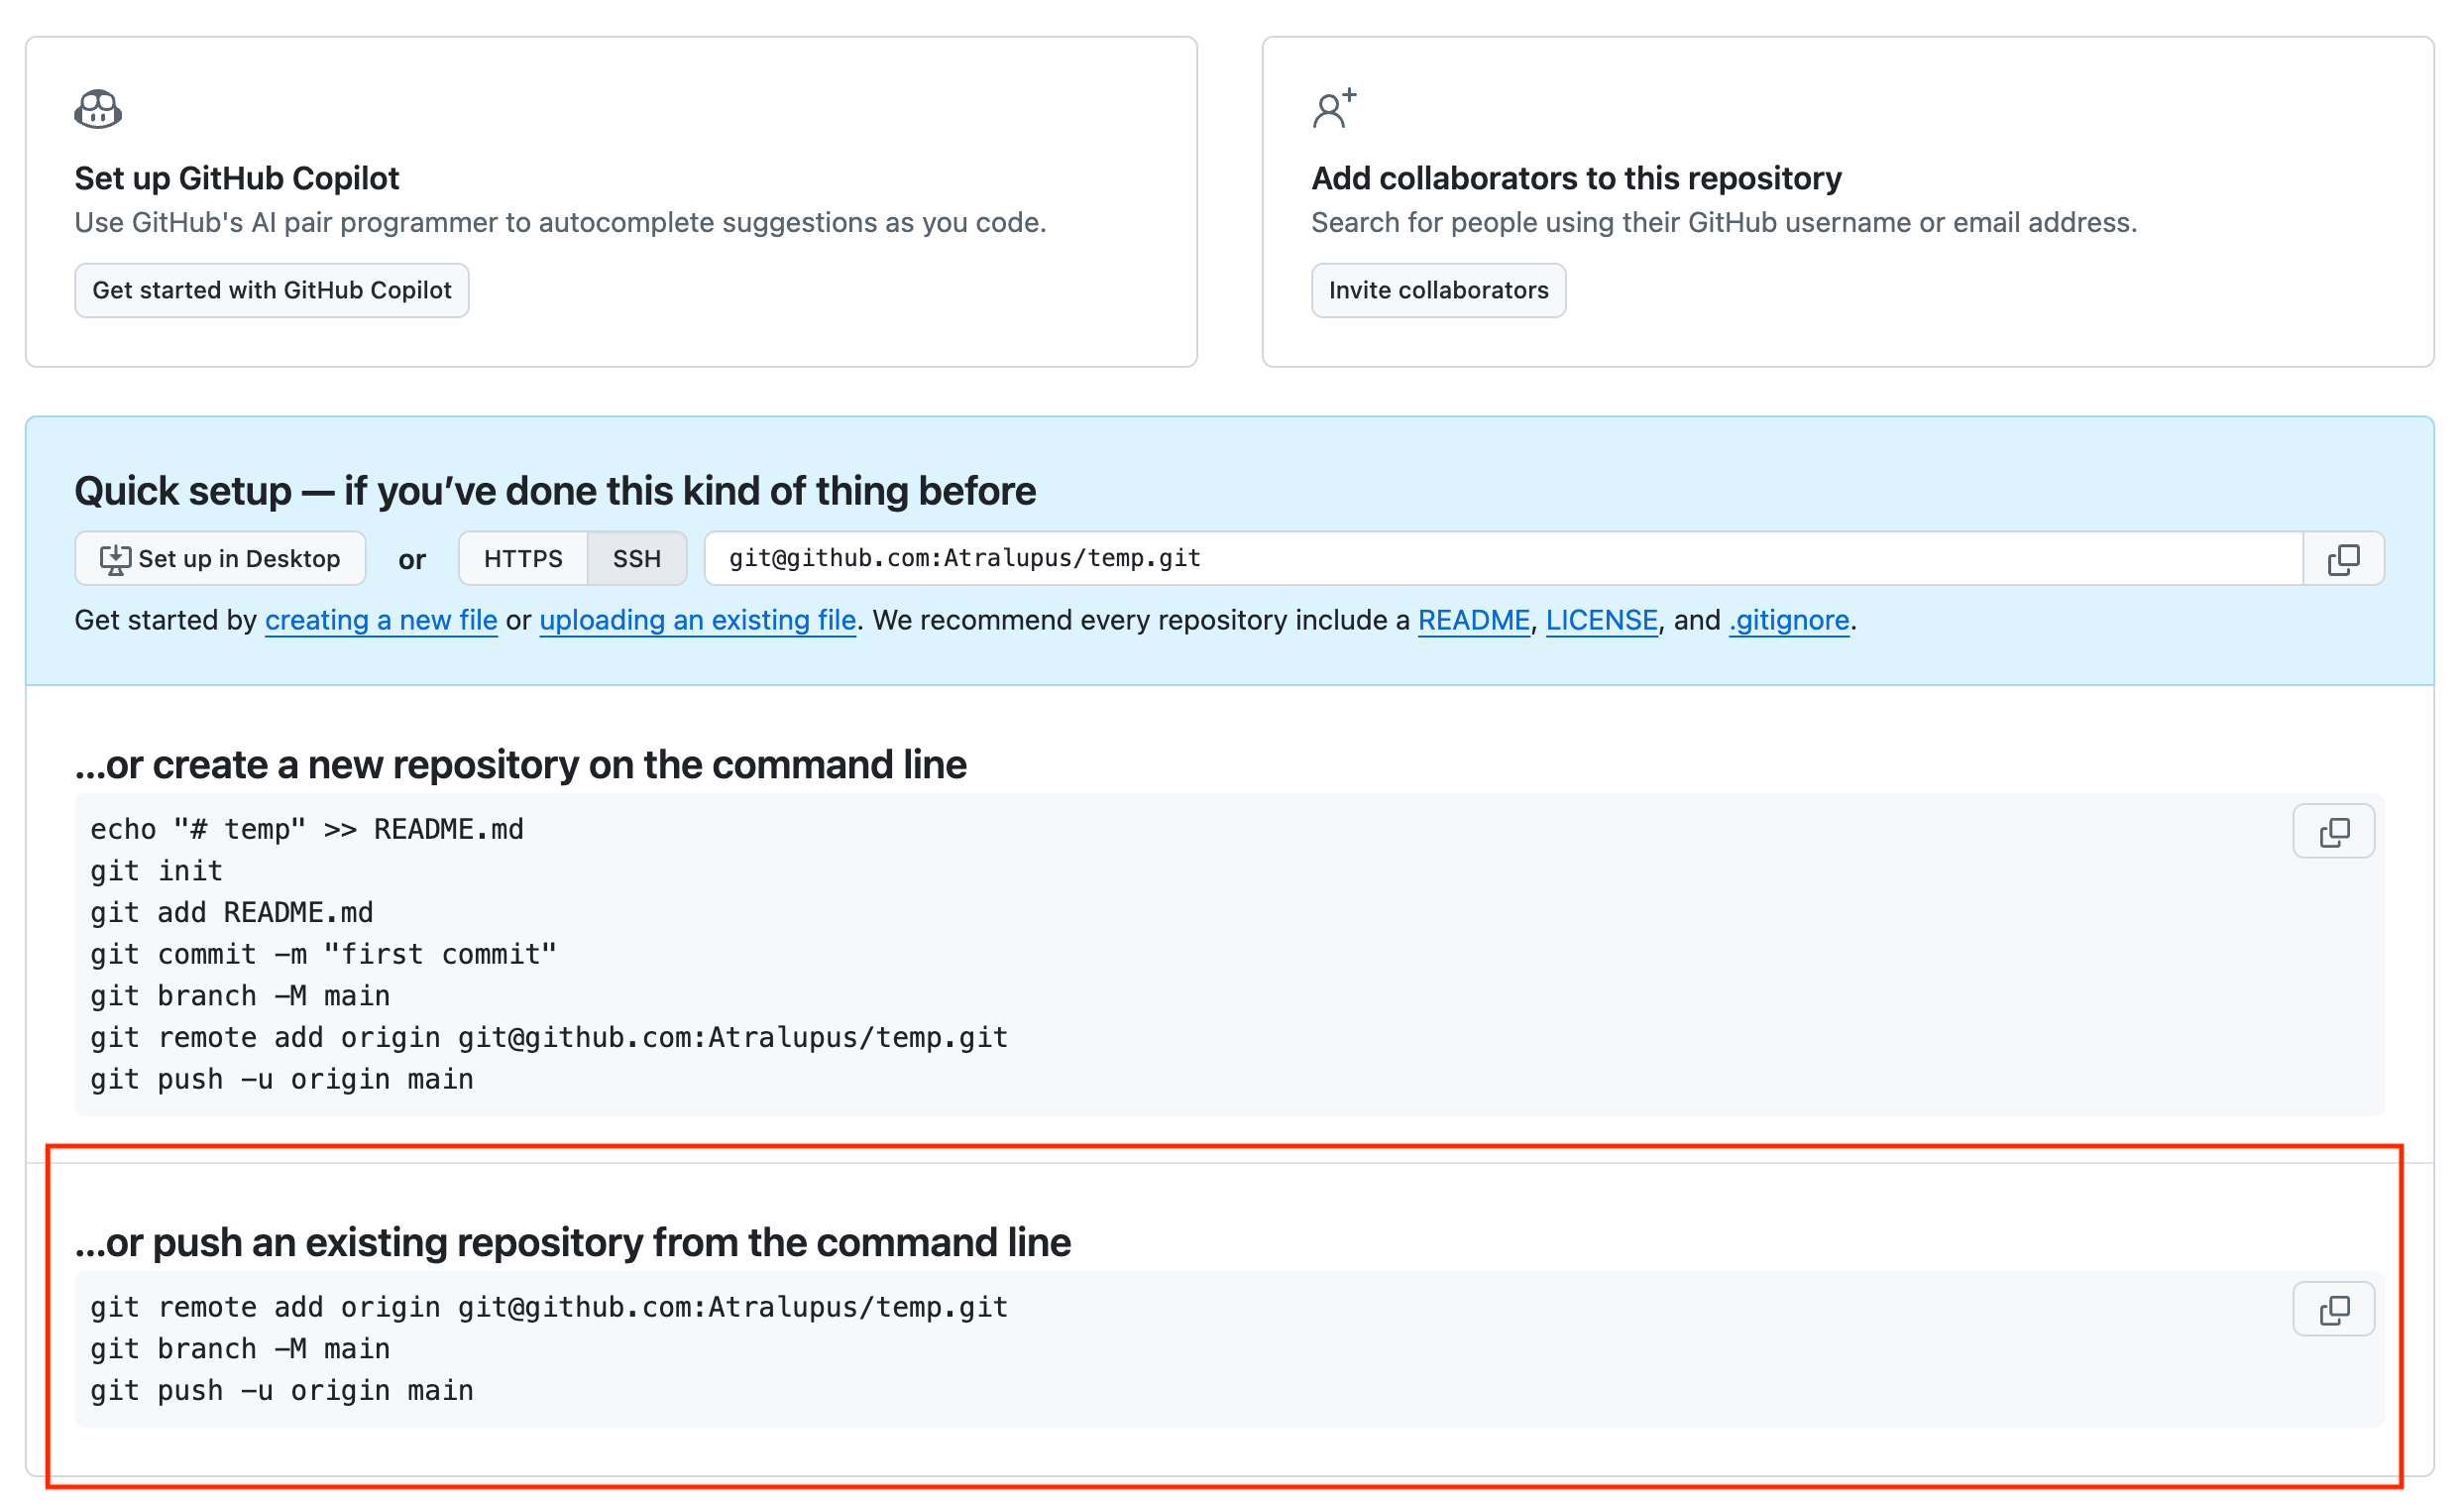
 Make sure to use the second command above for setting up the remote repository, as it’s better suited for your current setup.
- Open a terminal or command prompt.
- Use the second command like this:
git remote add origin [email protected]:{UserName}/{Repository}.git
git branch -M main
git push -u origin main- When you run the git push command, Git will ask for your GitHub username and token
Now, your project is live on GitHub and ready for others to see!
Step 8: Keep Learning and Explore Further!
While building a simple website that displays avatar information is a great first project, it’s important to go beyond this example to grow your skills and develop your own unique ideas. Submitting an entry too close to this example might be flagged as duplicate during judging for the Modathon.
What Next? Learn the Basics of JavaScript! 📚
We recommend taking the time to study the basics of JavaScript (JS), which is the foundation of many modern web applications. You might also want to explore TypeScript (TS) in more detail, as we used it in this guide. Understanding how TS differs from JS and how React works will give you a much clearer idea of how websites are built.
Take a closer look at concepts such as:
- JavaScript syntax: The rules and structure of writing JavaScript code.
- TypeScript: A typed superset of JavaScript that helps prevent errors and make development smoother.
- React: The library we used to build the website, which helps create dynamic and interactive web pages.
Understanding What You Built 🛠️
Try to understand how everything you followed in this guide works. Explore how the website is fetching and displaying Nine Chronicles avatar information. The more you understand, the easier it will be to add unique features later on.
Final Step: Deploy Your Website!
Once you’ve made some improvements and you’re happy with your project, it’s time to deploy it so others can see it! One simple and effective way to do this is by using GitHub Pages. This will allow you to host your website for free and make it accessible to anyone with a web browser.
To learn how to do this, you can search for “deploy React app to GitHub Pages” and you’ll find many tutorials that will guide you through the process step by step.
Step 9: Join the Modathon!
While a simple website displaying avatar information is a great learning project, unfortunately, you won’t be able to submit something identical or very similar to the example for the Modathon. Submitting an entry too close to this example might be flagged as abuse during judging.
We encourage you to keep learning and explore new ways to make the project your own!
TIP
Try adding features like inventory lookup or displaying current World Boss status instead of just showing avatar names. Small changes can make a big difference, and you’ll learn a lot in the process!
Once you’ve added your own unique twist, you’ll be ready to submit your project for the Modathon. Remember, even if you’re not sure how to implement an idea, the #mod-ideas channel is available to connect with developers who can help bring your concept to life!
Good luck, and have fun!