How to use Chrono
Let’s learn how to use Chrono to sign transactions on the Nine Chronicles blockchain network. Chrono is a Chrome browser extension that offers functionality similar to MetaMask
Users can register their private keys with Chrono and configure their desired network. They can also sign and broadcast transactions requested by web applications through Chrono
Installation
1. Chrome Web Store
You can easily install it from the Chrono page on the Chrome Web Store.
2. Manual Installation
Due to Chrome Web Store policies, there may be times when the latest version of Chrono is not available for installation from the Chrome Web Store. Here are the steps for manual installation for such cases.
2.1 Obtaining the Build Files
To install Chrono manually, you need to obtain the build files. You can choose from either of the two methods below to get the build files.
Downloading the repository release version
- Download the latest version from
Chrono’s GitHub repository.shellcurl -L -o chrono_v1.0.5.zip https://github.com/planetarium/chrono/releases/download/1.0.5/chrono_v1.0.5.zip - Unzip the downloaded file.
- Proceed to the next step.
Cloning the Chrono repository and building the project
Clone the Chrono GitHub repository.
shellgit clone --recursive https://github.com/planetarium/chrono.gitshellgh repo clone planetarium/chrono💡
This document is based on the
1.0.5tag.shellgit checkout 1.0.5Build
Chronofrom the root of the cloned repository.The
Chronoproject usespnpmfor package management. If you haven’t installedpnpm, refer to this link for installation instructions.shellcd chronoshellpnpm installshellpnpm run buildOnce the build is complete, a
/builddirectory will be created. Now proceed to the next step.
2.2. Loading Unpacked Extension in Chrome
- Open Chrome browser and enter
chrome://extensionsin the address bar. - Enable
Developer modein the top right corner of the screen.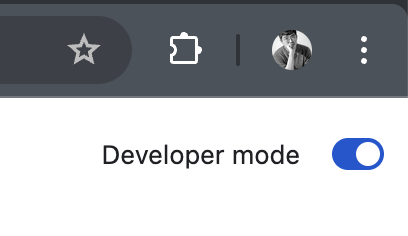
- Click the
Load unpackedbutton in the top left corner of the screen and select the directory where you unzipped the files or the/builddirectory if you built it manually.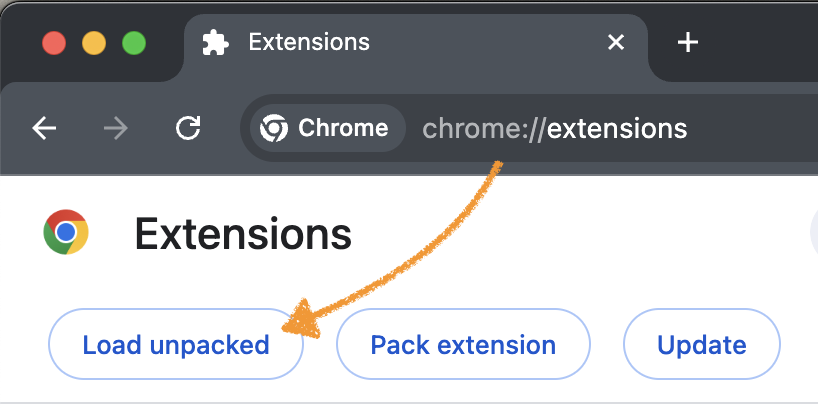
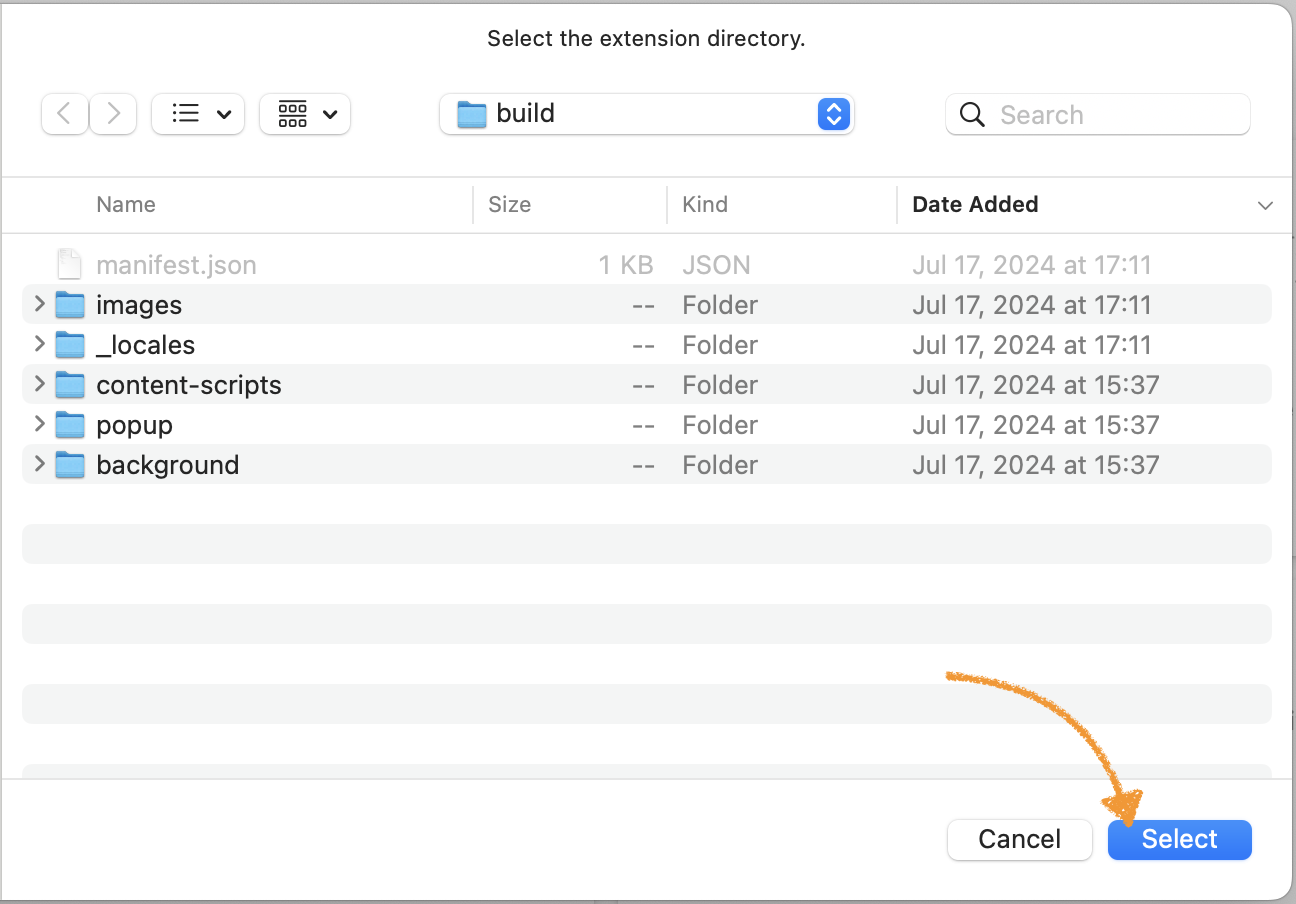
Chronois now installed.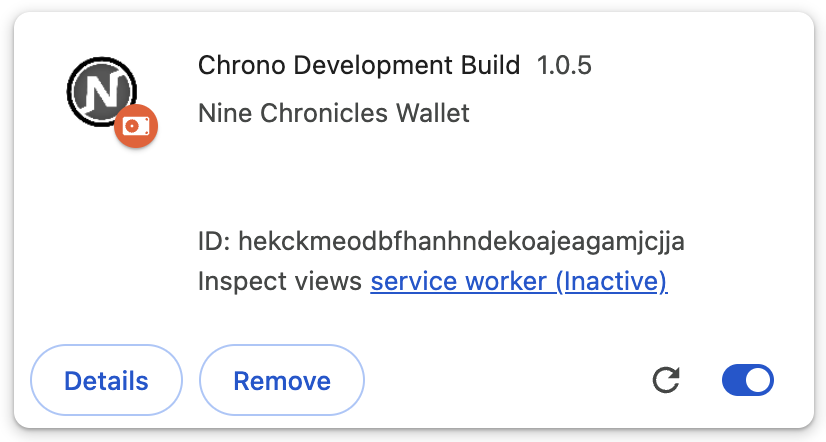
First Run of Chrono and Registering a Private Key
First, for convenience, let’s pin Chrono. 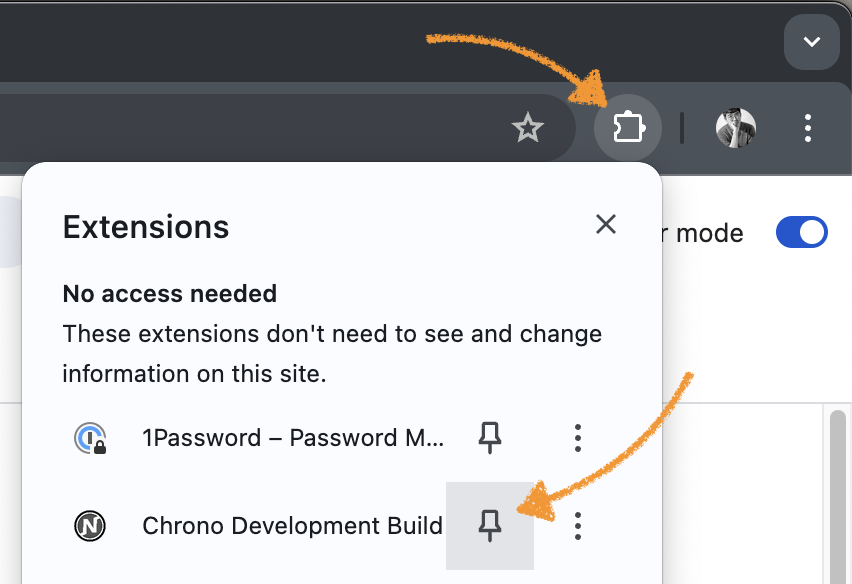
1. First Run
When you run Chrono for the first time, you will need to set a password to use Chrono. The password must be at least 8 characters long, and make sure to choose a strong password to ensure security. 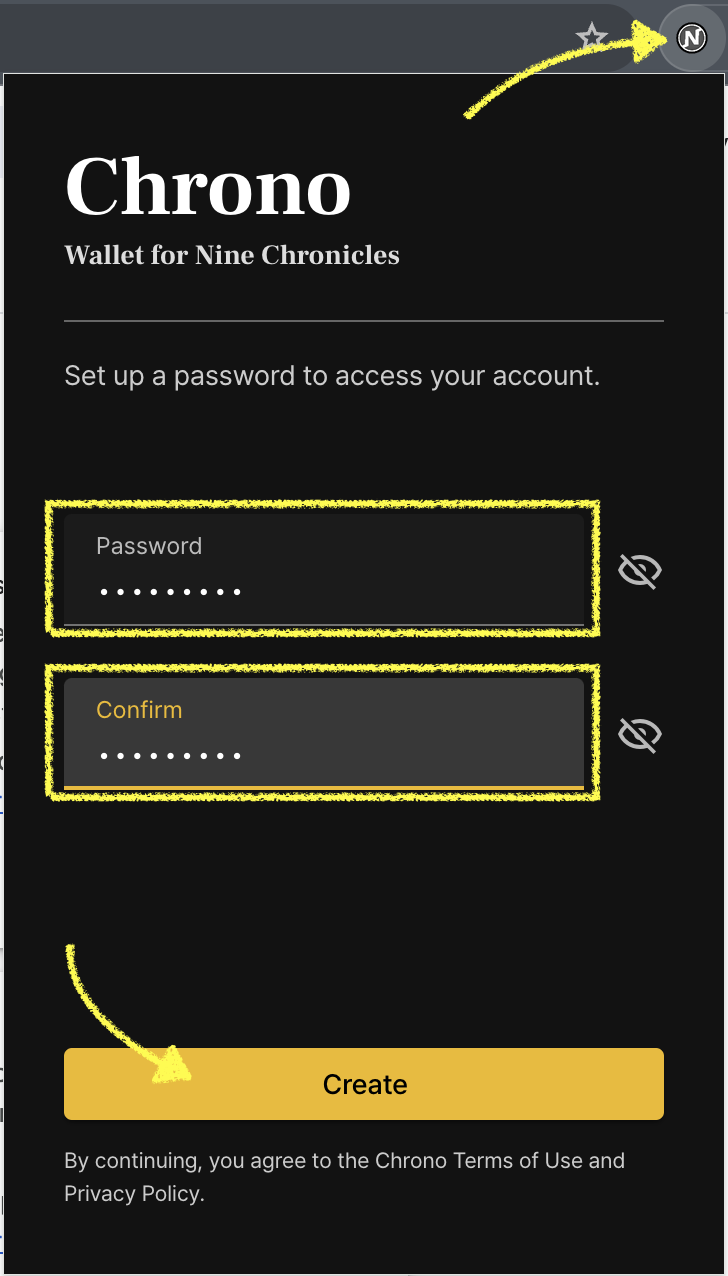
When Chrono is first run, it prompts you to create or register an account. If you already have a private key, click Recover and enter the Seed Phrase of your private key to register the account. To create a new account, click New and register the account using the automatically generated Seed Phrase.
🚨
Never share your password and Seed Phrase with anyone. They can be used to access your account.
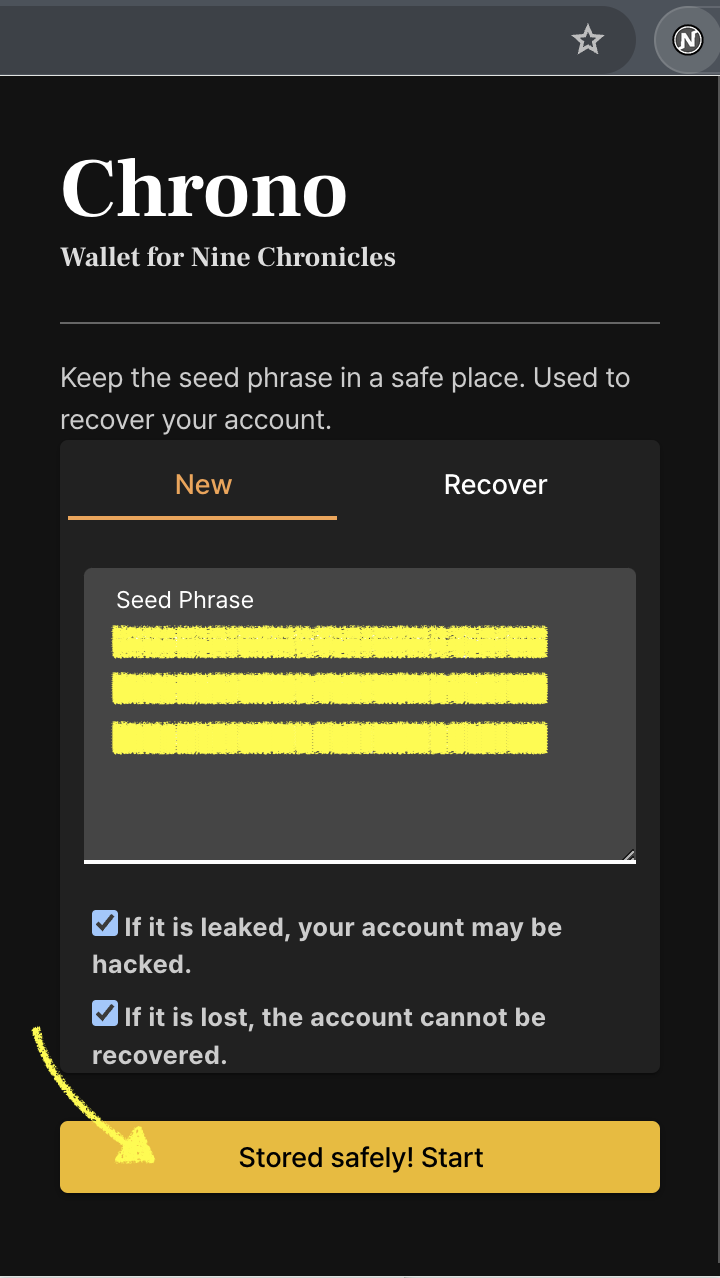
Chronodoes not currently support setting up the first account using an existing private key directly during the initial run. In such cases, click onNewto proceed and then register the private key later as described below.
2. Registering a Private Key
🚨
In this example, we expose the private key for demonstration purposes only. Never expose your private key if it’s used for any other purpose.
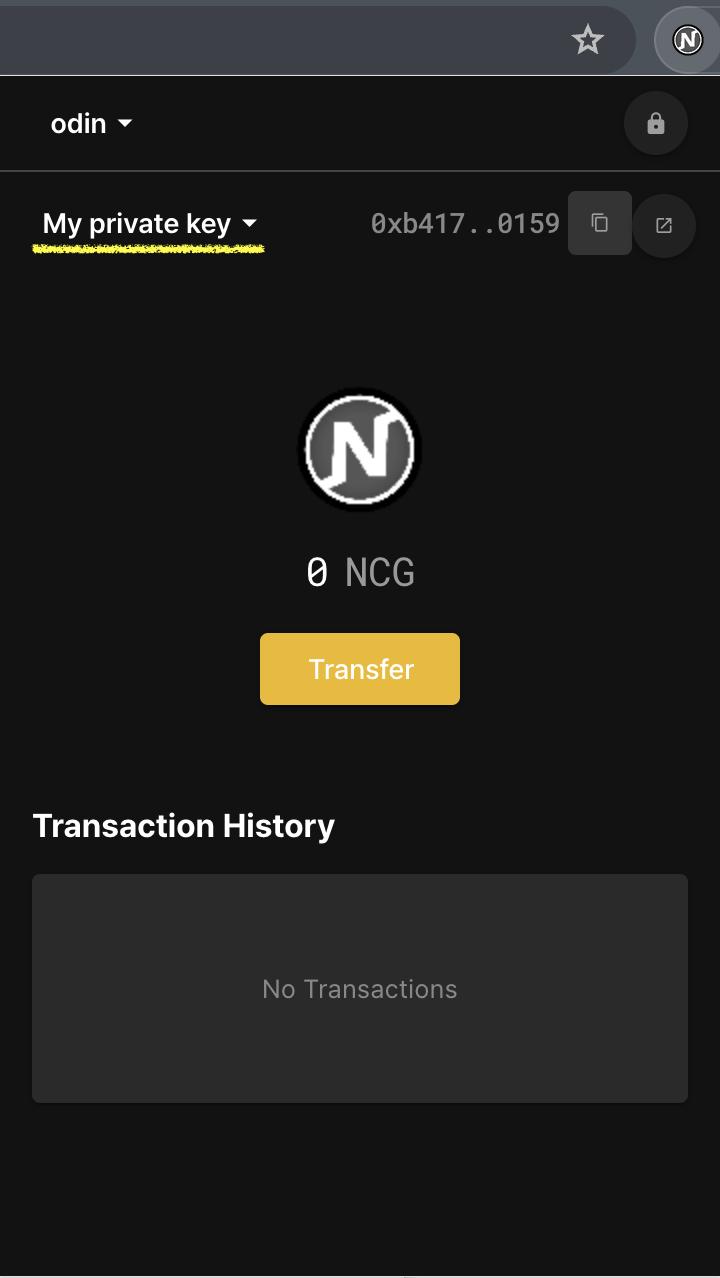
First, open Chrono. Select the Account 1 button in the top left corner and click the Import button. 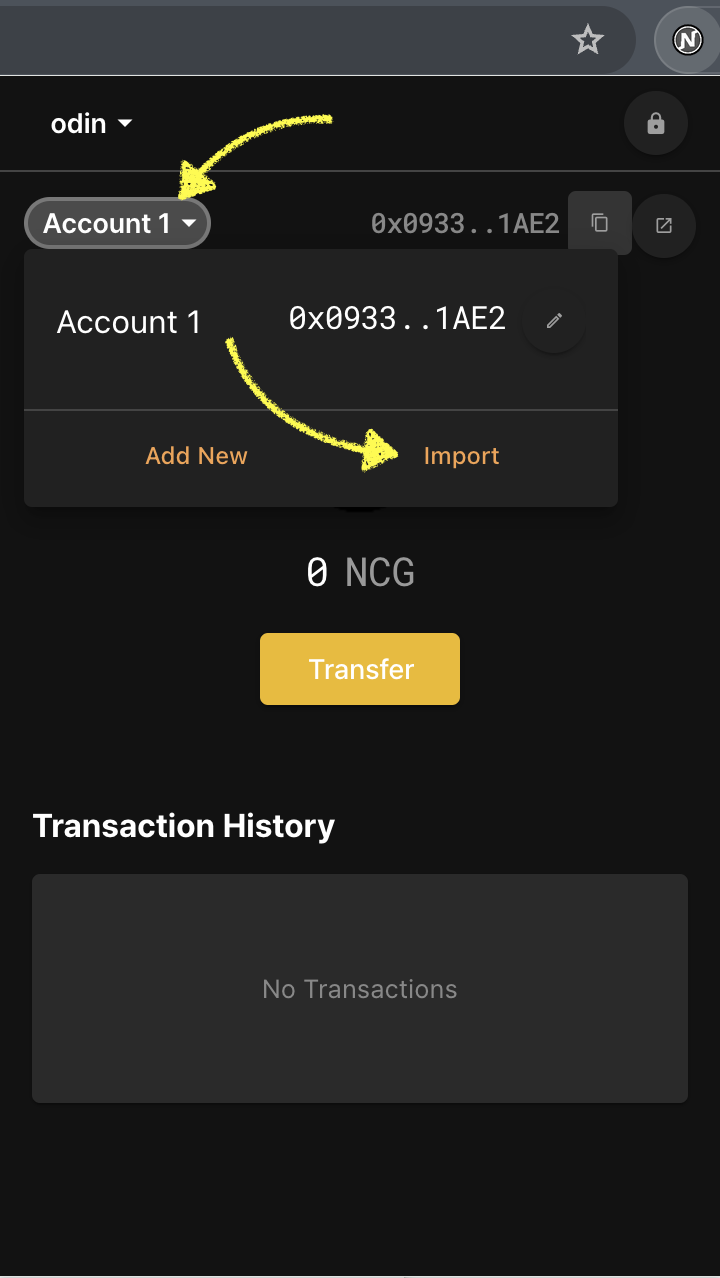
Set the account name as My private key, enter the plaintext private key, and click the Import button. 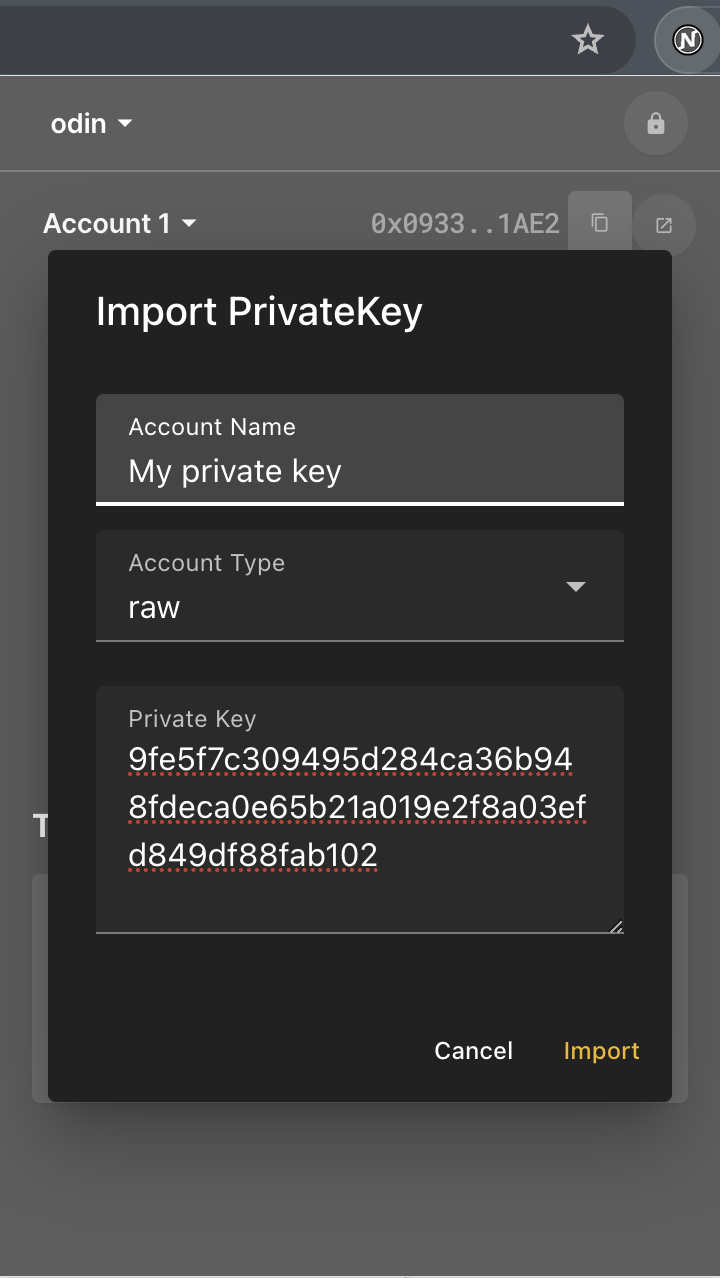
After a short wait, My private key will be successfully added.