Daily Reward Page Tutorial
🚨
This example requires a signature, so you must have a Nine Chronicles account with an avatar that has claimed the Daily Reward (Action Point refill) at least once in order to proceed.
This tutorial walks you through creating a website to receive the Daily Reward using Nine Chronicles’ signature tool, Chrono.
Before starting, please check the Chrono documentation, install the extension, and import a private key with a playable avatar.
Project Setup
We’ll use React and TypeScript to quickly set up the front end of the project.
npx create-react-app some-app-name --template @planetarium/9c-chronoFirst, we fetch the basic project settings via Create React App and run it.
cd some-app-name
npm run codegen
npm run start
Once the project runs successfully, you’re all set!
Claiming the Daily Reward
First, connect the site to your wallet.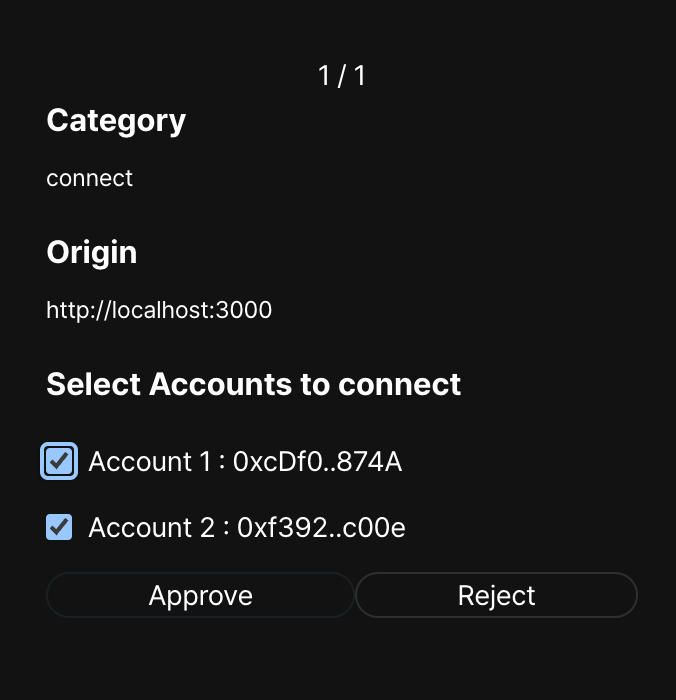
Afterward, retrieve the playable address, and once the avatar is displayed, you’re good to go. Click the Refill button, sign the transaction, and claim your Daily Reward.
Key Code Explanation
Since we downloaded the template through create-react-app, most of the settings to use Chrono are already in place.
Loading the SDK
// App.tsx
const chronoWallet = getChronoSdk();
You can load the SDK to communicate with Chrono using getChronoSdk.
Fetching Various Wallet Information
// App.tsx
const {
  data: accountsData,
  isLoading: accountsLoading,
  isSuccess: accountsSuccess,
  error: accountsError,
} = useAccounts();
const { connectAsync, isPending } = useConnect();
const {
  data: networksData,
  isLoading: networksLoading,
  isSuccess: networksSuccess,
} = useNetwork();
You can use various React Hooks to fetch account information or details about the network your wallet is connected to.
Signing a Transaction
// RefillButton.tsx
import { DailyReward } from "@planetarium/lib9c";

function createDailyRewardAction(avatarAddress: Address): DailyReward {
  return new DailyReward({
    avatarAddress,
  });
}

...

const [stage] = useStageTransactionMutation();
const action = useMemo(() => {
  return createDailyRewardAction(avatarAddress);
}, [avatarAddress]);

...

chronoWallet
  .sign(signer, action)
  .then((tx) => {
    setProgress("Staging");
    return stage({
      variables: { tx: tx.toString("hex") },
    }).then(({ data, errors }) => {
      setProgress("Done");
      setTxId(data?.stageTransaction || null);
    });
  })
  .catch((e: unknown) => {
    setProgress("None");
  });
The signing process can be done in the following steps:
- Use the lib9c library to create the action you want to send.
- Wrap the action into a transaction and sign it using Chrono.
- Send the signed transaction through the headless API.
- The network (blockchain) will review the transaction, add it to a block, and apply the requested action.
Conclusion
By using Chrono for signing, you can create websites that support various features like transferring funds, participating in arena battles, and more. Build your own app using Chrono!
INFO
The completed example can be found in the 9c-examples repository.