Running a Nine Chronicles Blockchain Node with Your Own Private Key
In a previous exercise, we ran a node using the Headless.Executor. This time, we’ll explore how to run a node using a custom private key and a genesis block that you’ve created.
1. Modifying appsettings
First, you need to modify the settings file for the Single node, located at ~/.planetarium/headless/appsettings/appsettings.Single.json.
Replace the MinerPrivateKeyString, ConsensusPrivateKeyString, and ConsensusSeedStrings with the values from your new private key.
{
  ...
  "MinerPrivateKeyString": "9fe5f7c309495d284ca36b948fdeca0e65b21a019e2f8a03efd849df88fab102",
  "MinerPrivateKeyString": "{your private key}",
  "ConsensusPrivateKeyString": "9fe5f7c309495d284ca36b948fdeca0e65b21a019e2f8a03efd849df88fab102",
  "ConsensusPrivateKeyString": "{your private key}",
  "ConsensusSeedStrings": [
    "033dafc7bf6d603578a8c51b04430b738aeeead8a012e1dcbd8c75cf18a625cf14,127.0.0.1,31588"
  ],
  "ConsensusSeedStrings": [
    "{your public key},127.0.0.1,31588"
  ],
  ...
}
2. Replacing the Genesis Block
Next, navigate to ~/.planetarium/headless/genesis-block/genesis-block-for-single, where the automatically generated genesis block is stored.
Replace the existing genesis-block-for-single file with the new genesis block file you created during the previous exercise.
3. Deleting the Existing Store
To reset the node configuration and remove any previous data tied to the old private key, delete the existing store folder
Delete the folder at ~/.planetarium/headless/store/v200220.
4. Running the Node
Now it’s time to run the node. Use the following command:
9crun run --version=v200220 --planet=SingleThis command will ensure that the node runs with your new private key and genesis block, even if previous files existed. The logs should look something like this:
[19:00:51 INF] The workstation garbage collector is running.
[19:00:52 DBG] Secp256K1CryptoBackend initialized.
[19:00:52 DBG] Migrating RocksDB.
[19:00:52 DBG] RocksDB is initialized.
[19:00:53 DBG] Number of chain ids: 1
[19:00:53 DBG] Canonical chain id: 7d43fc6c-c48b-469b-9724-712495d409d9
[19:00:53 INF] [ActionEvaluator] Evaluating actions in the block #1 pre-evaluation hash 6dc1b3d42c91c9affffe6ec3e2205978271d383c1fdbee742623e00074360f66...
[19:00:53 INF] [ActionEvaluator] Evaluating policy end block actions for block #1 6dc1b3d42c91c9affffe6ec3e2205978271d383c1fdbee742623e00074360f66
[19:00:53 DBG] [b4179Ad0d7565A6EcFA70d2a0f727461039e0159, b4179Ad0d7565A6EcFA70d2a0f727461039e0159]RewardGold exec started
[19:00:53 DBG] [b4179Ad0d7565A6EcFA70d2a0f727461039e0159, b4179Ad0d7565A6EcFA70d2a0f727461039e0159]RewardGold Total Executed Time: 00:00:00.0009670
[19:00:53 INF] [ActionEvaluator] Action Nekoyume.Action.RewardGold took 25 ms to execute, GetState called 0 times and took 0 ms
[19:00:53 INF] [ActionEvaluator] Actions in 0 transactions for block #1 pre-evaluation hash 6dc1b3d42c91c9affffe6ec3e2205978271d383c1fdbee742623e00074360f66 evaluated in 47 ms
[19:00:53 DBG] [BlockChain] Took 51 ms to evaluate block #1 hash 4e5ed98157a2783b98bf2e6e376359b0c6070ce1c8fad5d1cc11ae2a4da50d8e with 1 action evaluations
[19:00:53 INF] [NetMQTransport] Listening on 31234...
[19:00:53 INF] [NetMQTransport] Listening on 31588...
[19:00:53 DBG] Initializing Swarm. ConsensusReactor: True
[19:00:53 DBG] [HeightVoteSet] Adding round 0
[19:00:53 INF] [Context] Created Context for height #2, round #-1
[19:00:53 DBG] Trying to delete 0 obsoleted chains...
...
5. Verifying the Node is Using Your Private Key
To confirm that the node is running with your private key, use GraphQL to query the blockchain’s status. Access Local Headless and run the following query:
query {
  nodeStatus {
    tip {
      miner
      hash
      index
    }
  }
}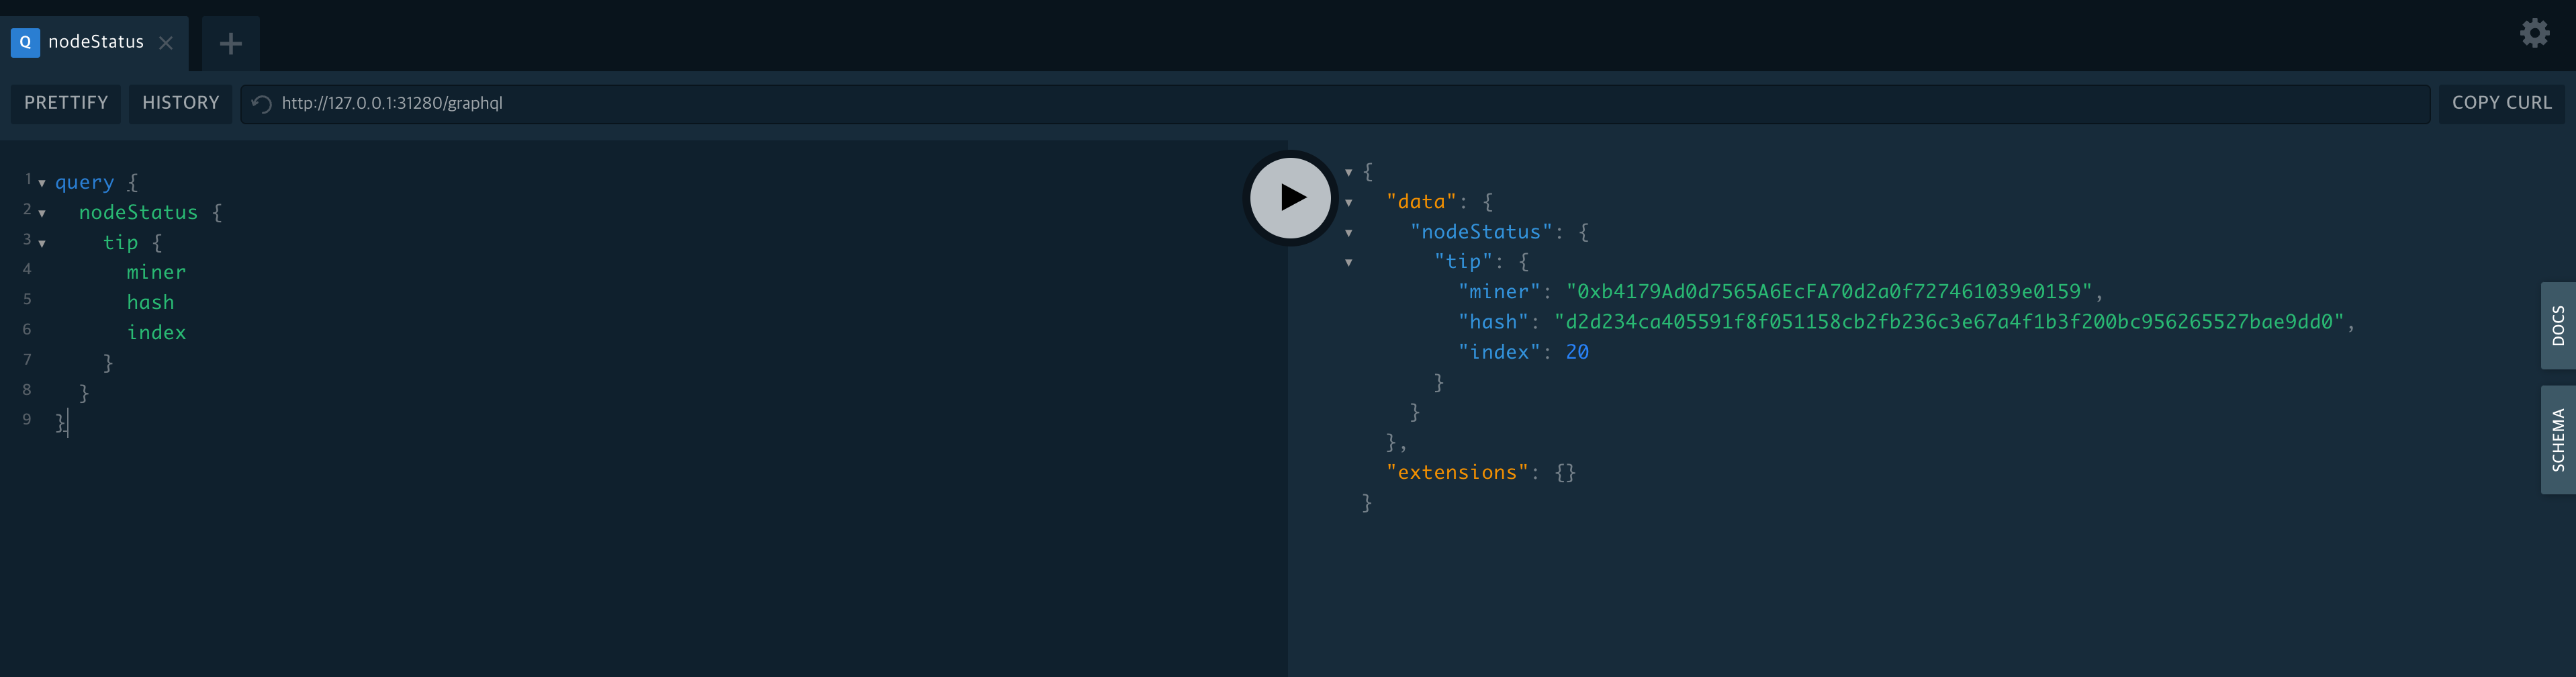
In the query result, check that the miner field shows the address corresponding to the private key you provided.
🎉
Congratulations! You’ve successfully learned how to run a node using your unique private key.
The next step is to launch the game client on your local network.