Issuing Transactions: Using Chrono
Among the various ways to issue transactions on the Nine Chronicles blockchain network, we’ll explore how to do it using Chrono.Chrono is a Chrome browser extension that functions similarly to MetaMask.
With Chrono, you can register your private key, configure your desired network, and sign and propagate transactions requested by web apps.
Installing Chrono
Follow this guide to install Chrono.
Adding Your Local Node as a Network
- First, start your local node:sh
9crun run --version=v200220 --planet=Single - Next, retrieve the hash of the genesis block by running the following query in the GraphQL Playground:graphql
query { nodeStatus { genesis { hash } } }jsonIn this example, the genesis block hash for my local network is{ "data": { "nodeStatus": { "genesis": { "hash": "37fb1963ababf73045aa036b347971089337945c94bc4e92a694c435b80a1f17" } } } }37fb1963ababf73045aa036b347971089337945c94bc4e92a694c435b80a1f17.
With this information, your local network configuration should look like this:
- Planet ID: 0x999999999999
- Network Name: My local
- Genesis Hash: 37fb1963ababf73045aa036b347971089337945c94bc4e92a694c435b80a1f17
- GraphQL endpoint: http://127.0.0.1:31280/graphql
- Explore endpoint:
- Is Mainnet: false
The Planet ID is just an identifier, and you can use any value as long as the format is consistent.
Adding the Network to Chrono
Now, let’s register the local network with Chrono. Open Chrono, click the odin button in the upper left, and then select Add New. 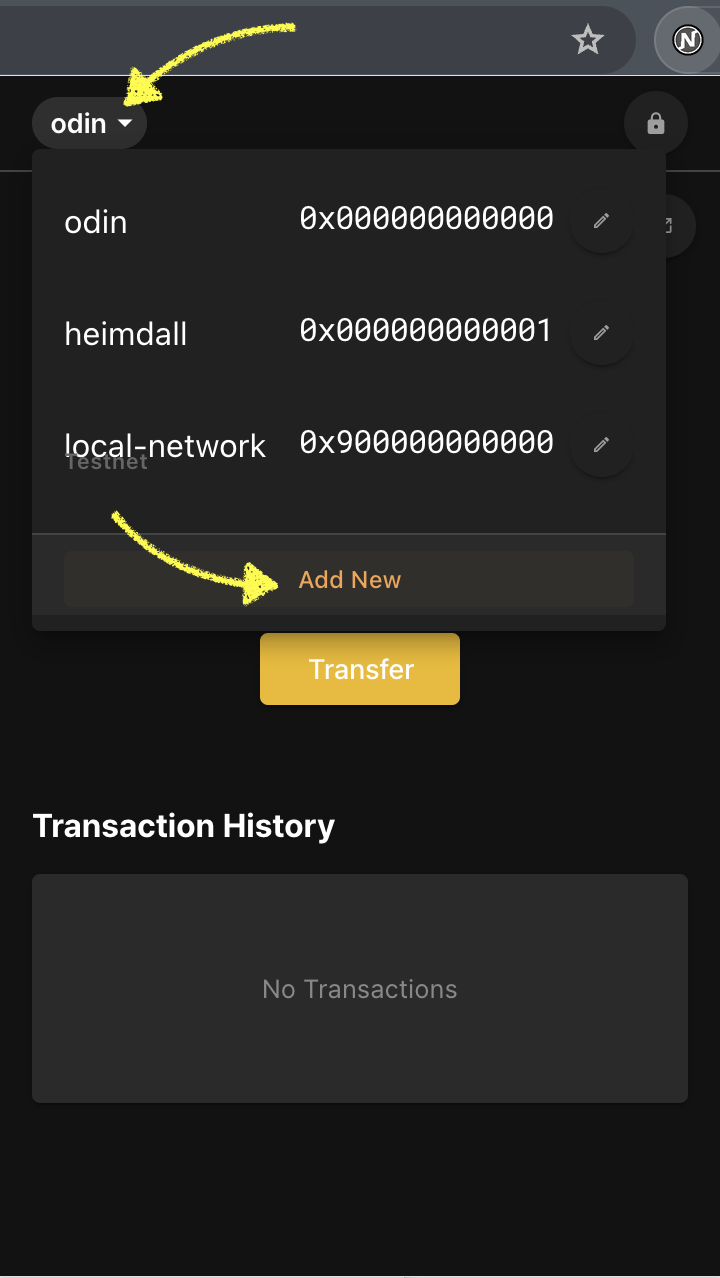
You’ll see a UI for entering network information, as shown below. Fill in the details and click Import. 
After a moment, your My local network will be successfully added. 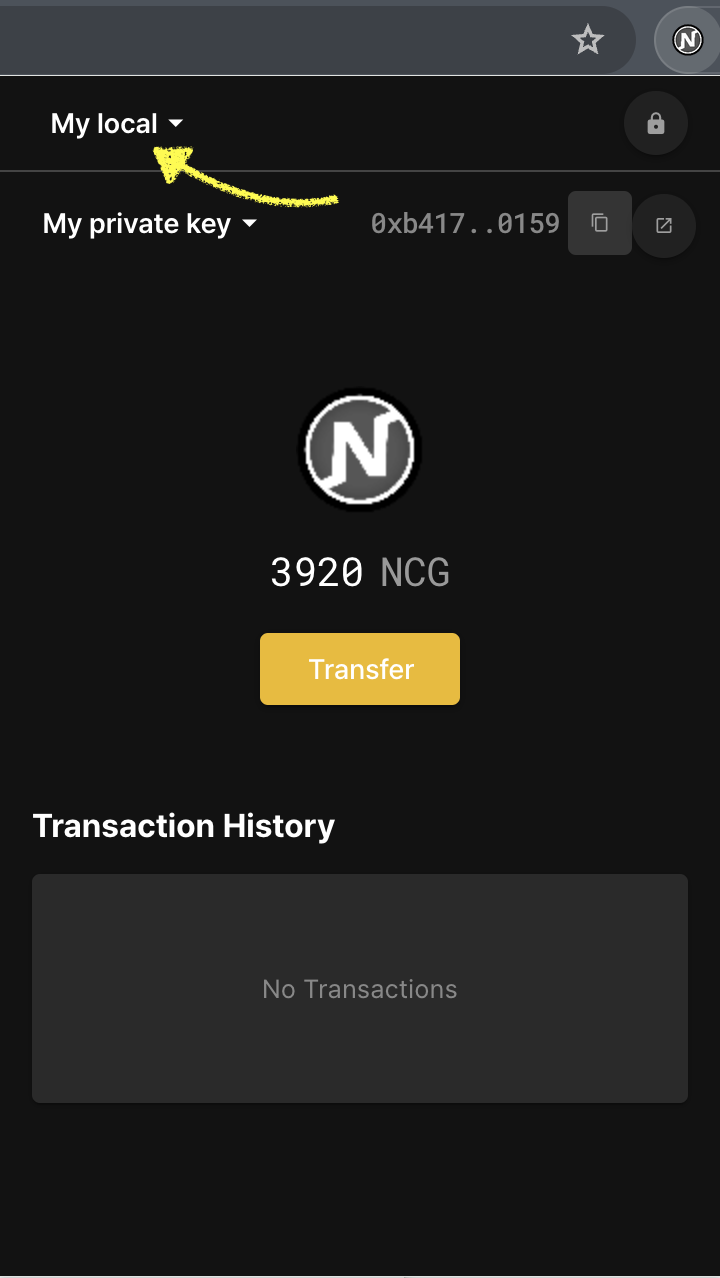
Next, follow this guide to import the private key you created.
In the screenshot above, you can see that the selected account in
Chronohas 3,920 NCG. This balance reflects the block mining rewards accumulated on the private key used to run the local node. Since this is the same account selected inChrono, the NCG balance is displayed.
Issuing a Transaction Using the Chrono Example Project
The following is a simple example site where you can test Chrono. We’ll issue a transaction to create an avatar on your local node and verify the result.
If Chrono is installed correctly, you’ll see the following screen when you visit the site. Click the Connect button. 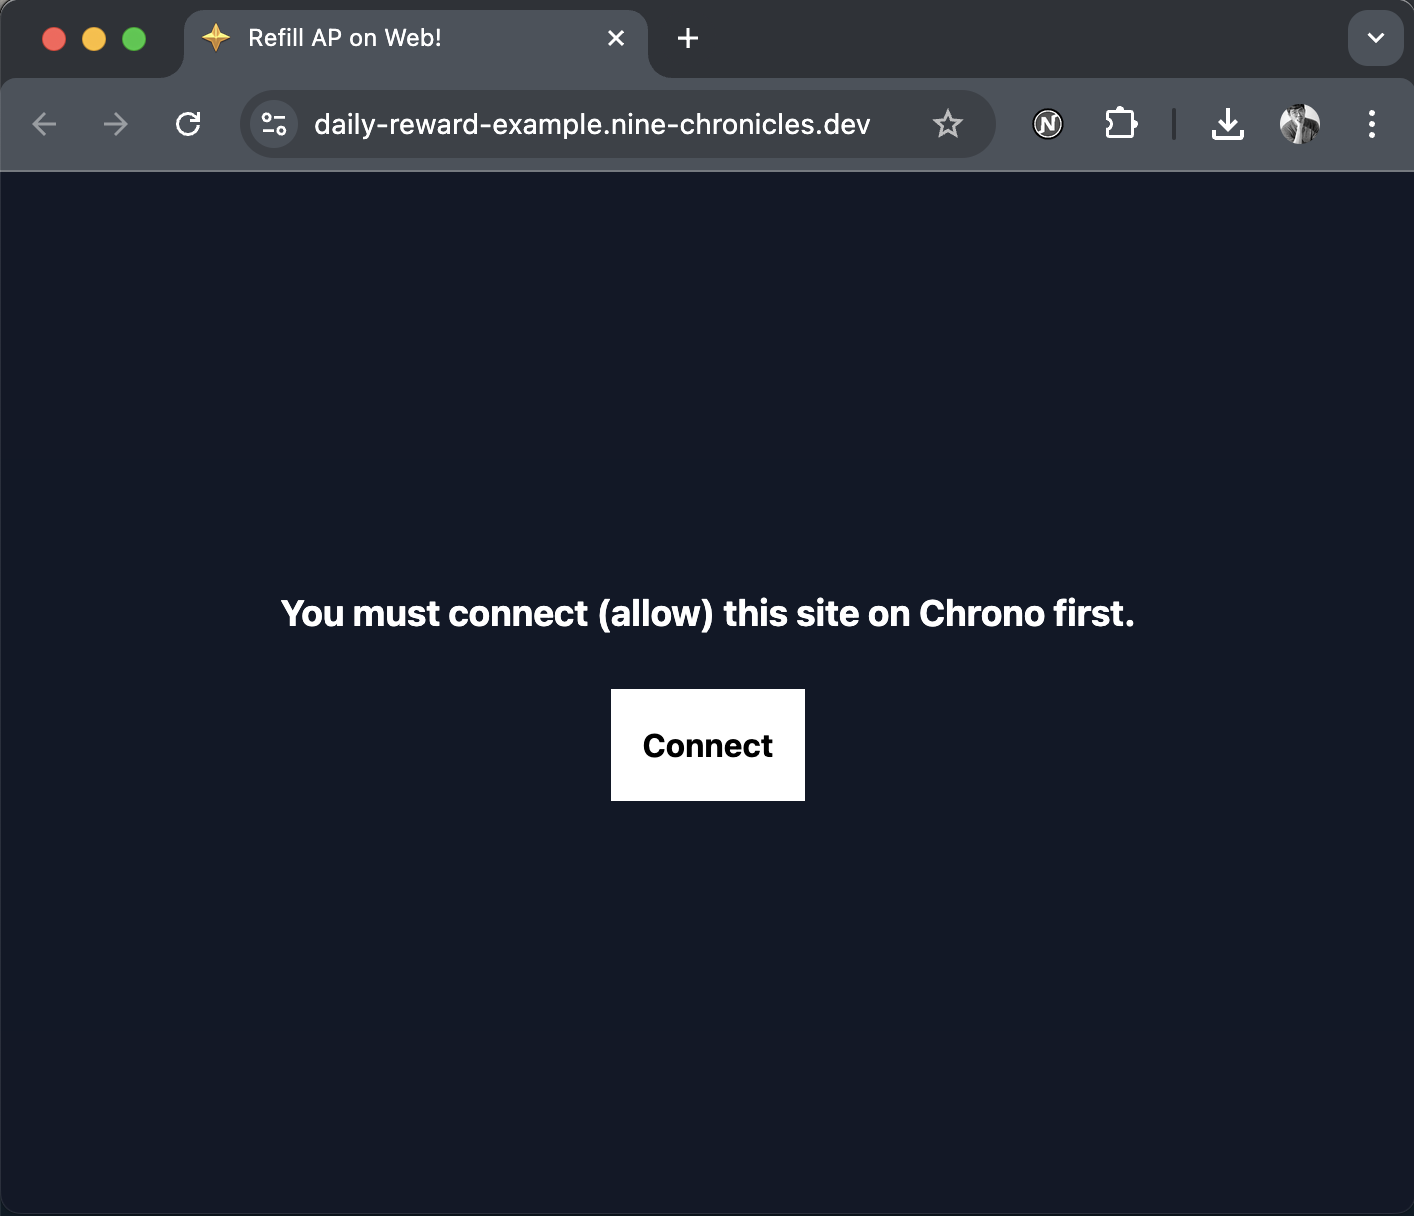
Chrono will prompt you to enter your password. 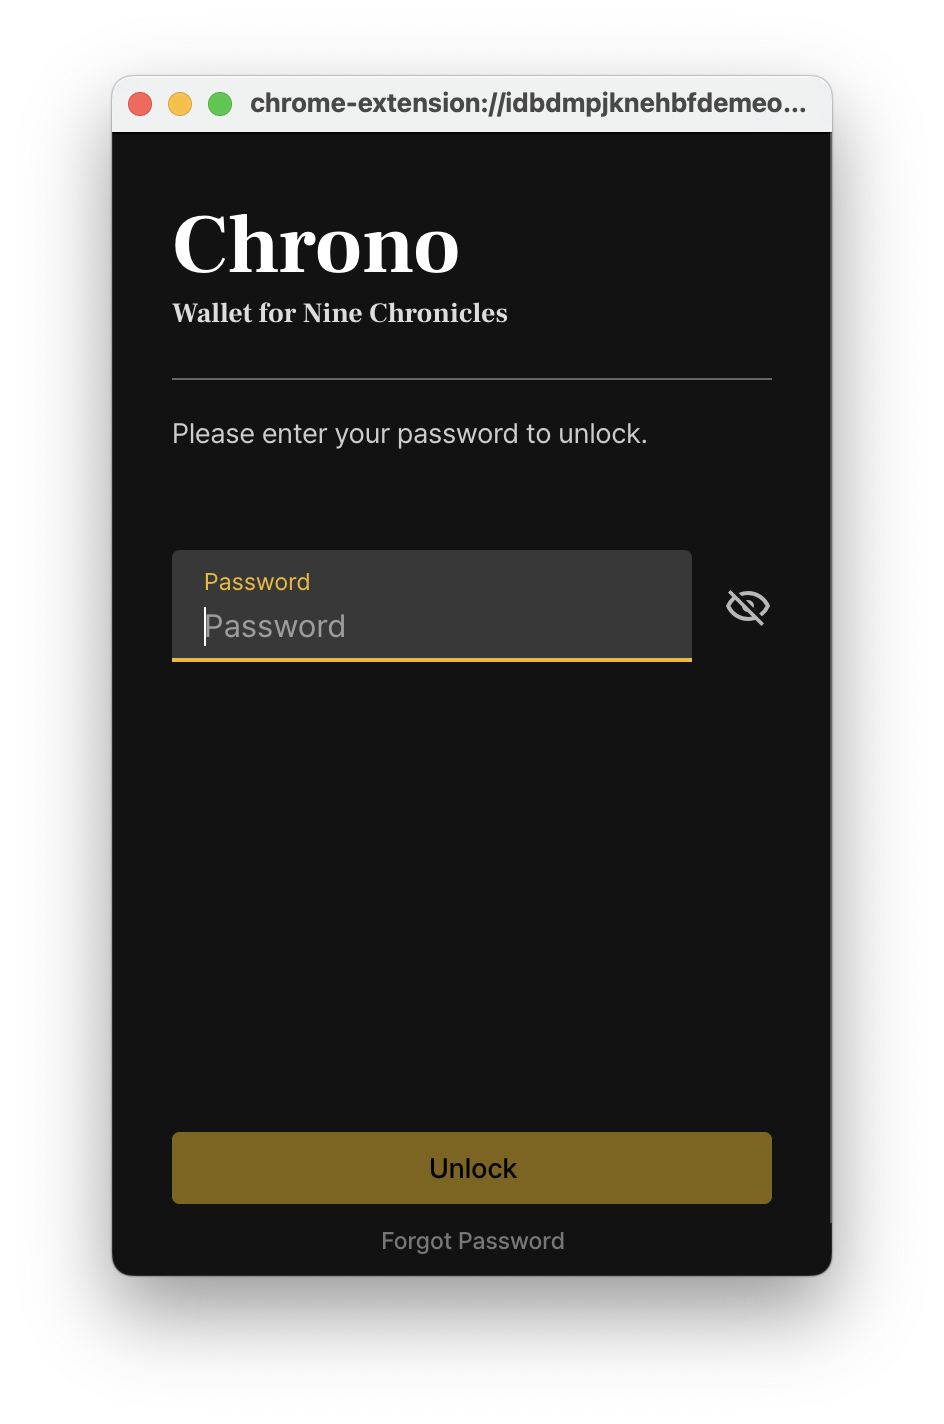
Enter your password and click Unlock. 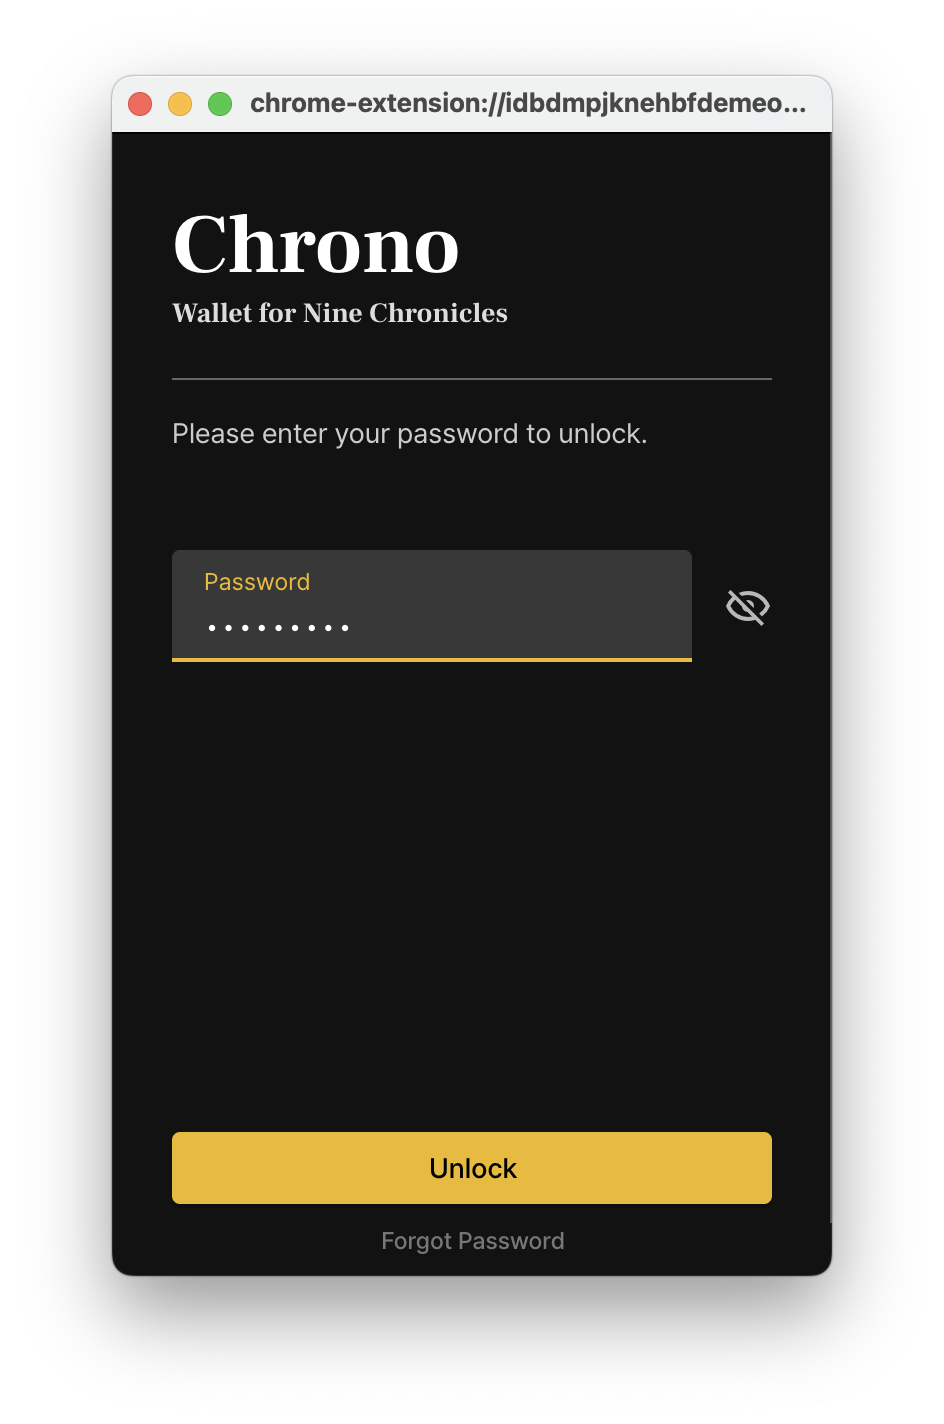
Select the account you want to connect and click Approve. In this example, instead of the default Account 1, we’ll connect with the My private key account that was added by importing the plain-text private key. 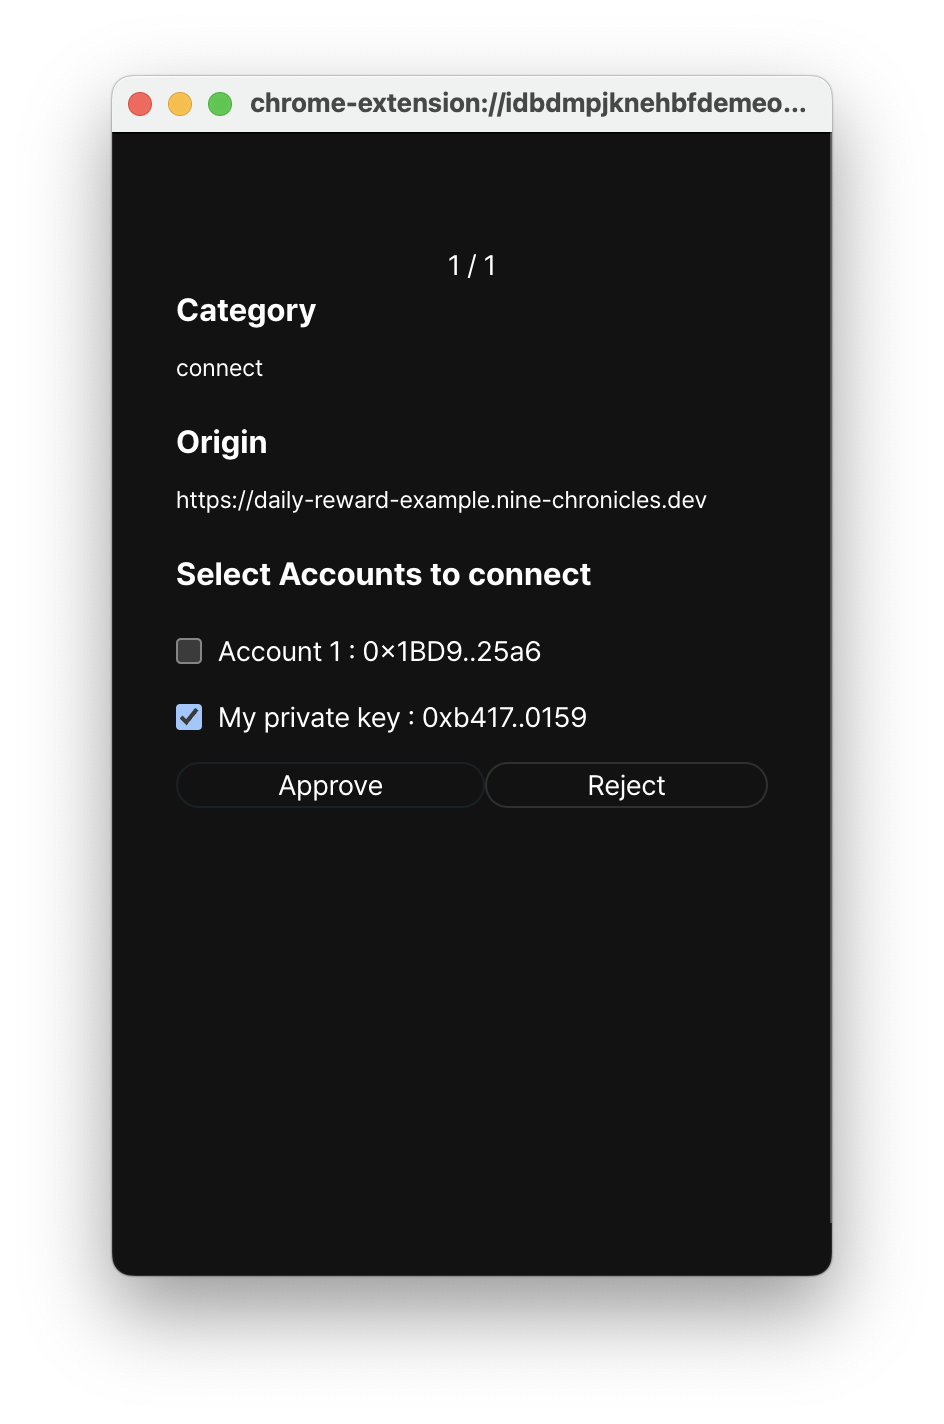
After a short wait, the account connection is successful. Since this account doesn’t have an avatar yet, the Create Avatar 0 button is enabled. Click this button. 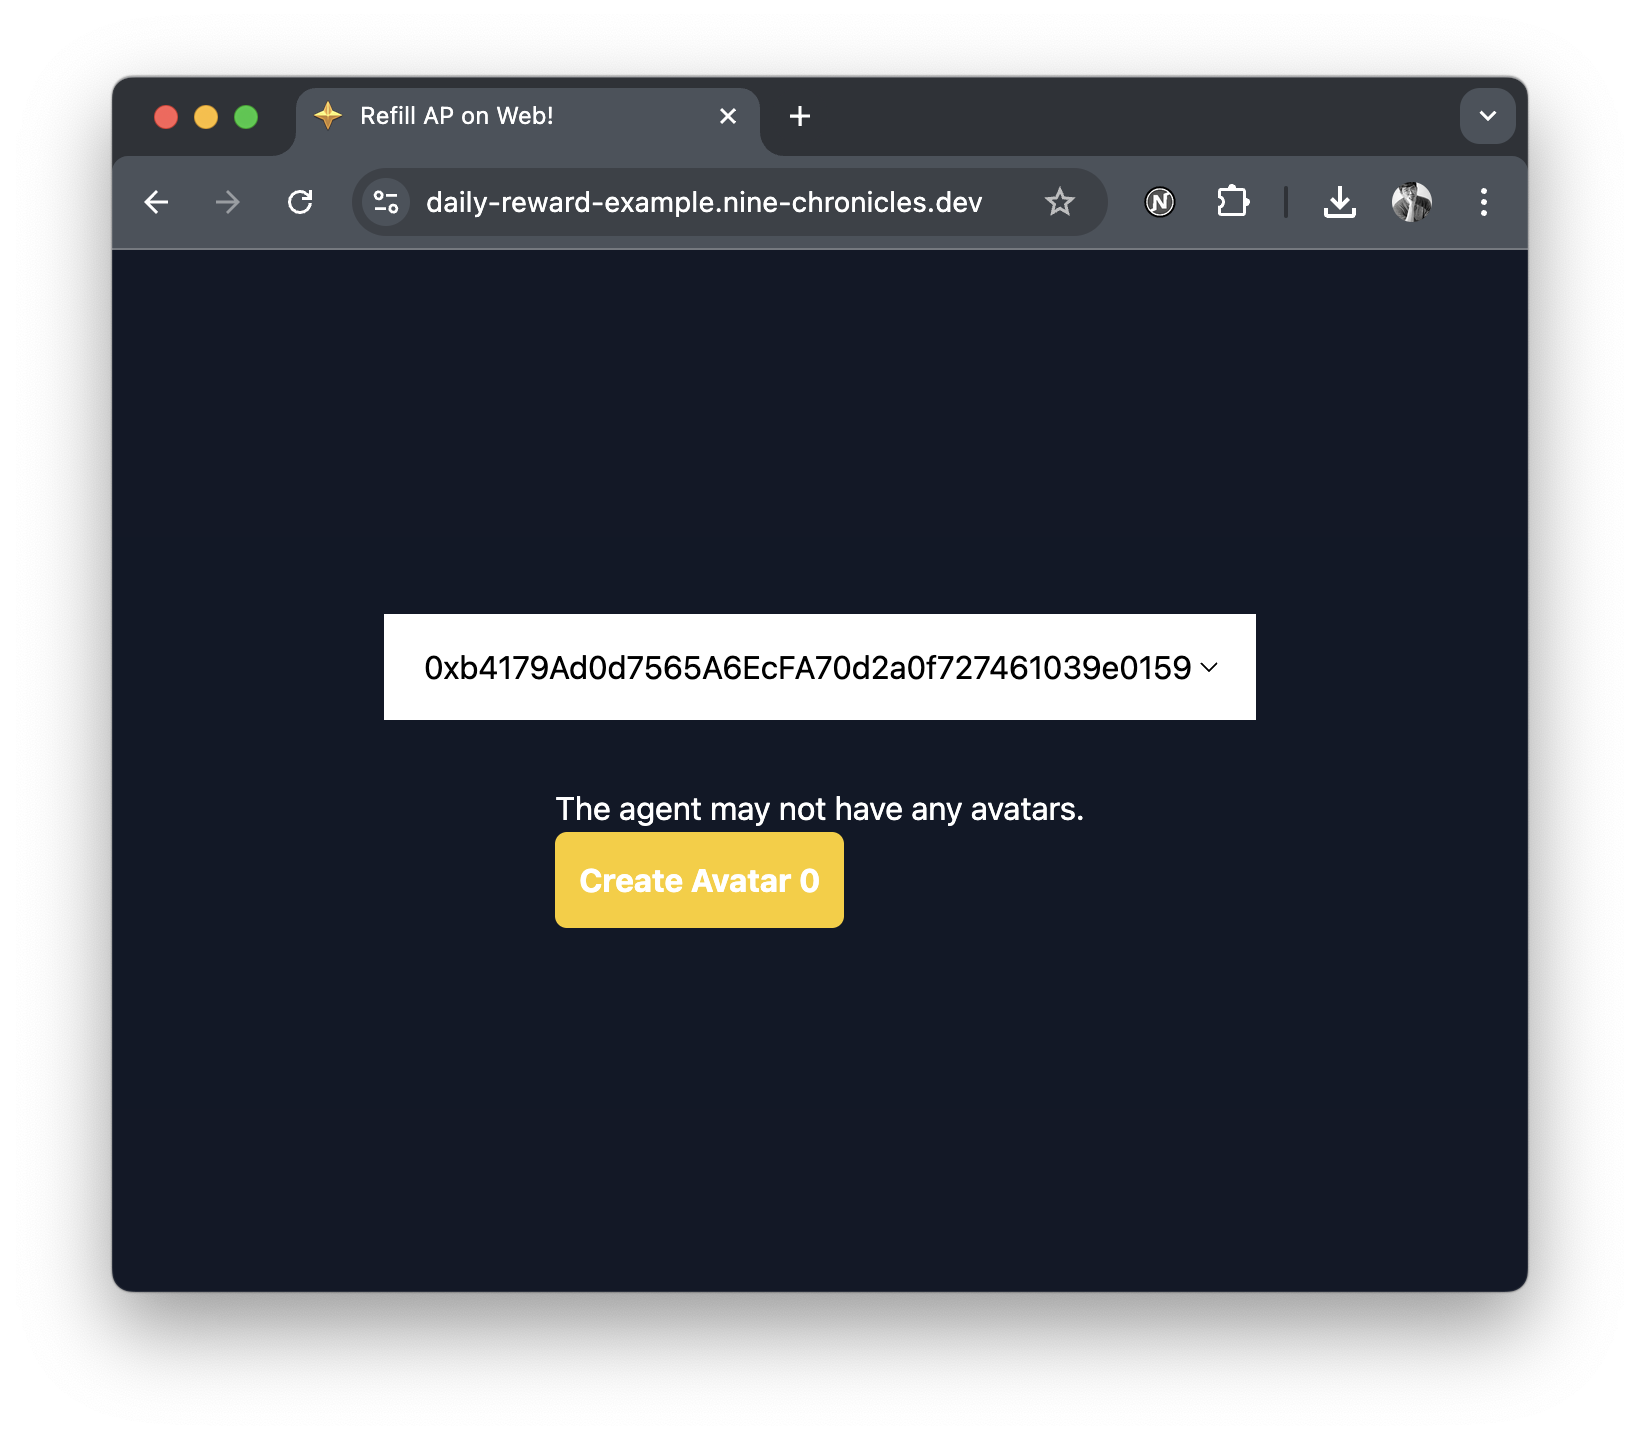
Chrono will display the details of the avatar creation transaction. Click the Approve button to sign and propagate the transaction to the connected network. 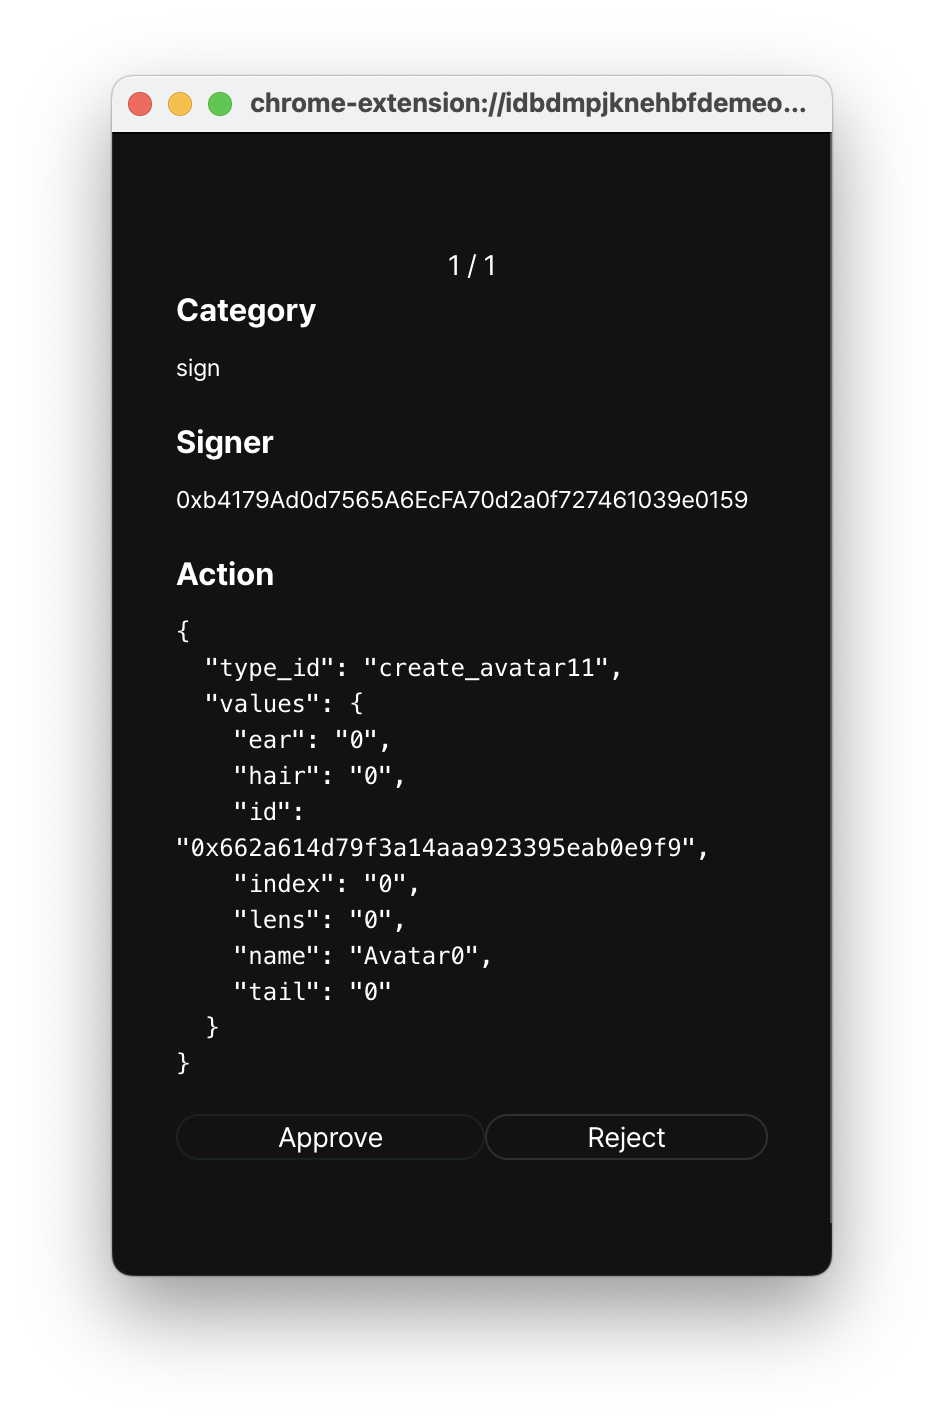
After a short wait, you’ll see that an avatar named Avatar0 has been created. The (120/120) represents the ActionPoint status used in the game. 
Checking the State
Finally, let’s query the new avatar information on your local node using the GraphQL Playground.
query {
  stateQuery {
     agent(address: "{your address}") {
      avatarStates {
        address
        name
      }
    }
  }
}{
"data": {
"stateQuery": {
"agent": {
"avatarStates": [
{
"address": "0xD73e10DBE0184bE3284E0e5ca6A2A12ae80ca524",
"name": "Avatar0"
}
]
}
}
},
"extensions": {}
}You can now confirm the state of the newly created avatar. The above GraphQL query allows you to retrieve the avatar’s address and name, confirming that the avatar was successfully created.
🎉
Congratulations! You’ve now learned how to set up accounts and networks using Chrono, as well as how to issue transactions through web apps that use Chrono.
Be sure to explore the documentation on the DevForum to dive into modding, network participation, contributing to open-source projects, and much more!